
GASB 96 Administration Setup
Navigate to Administration - Reporting Entity.
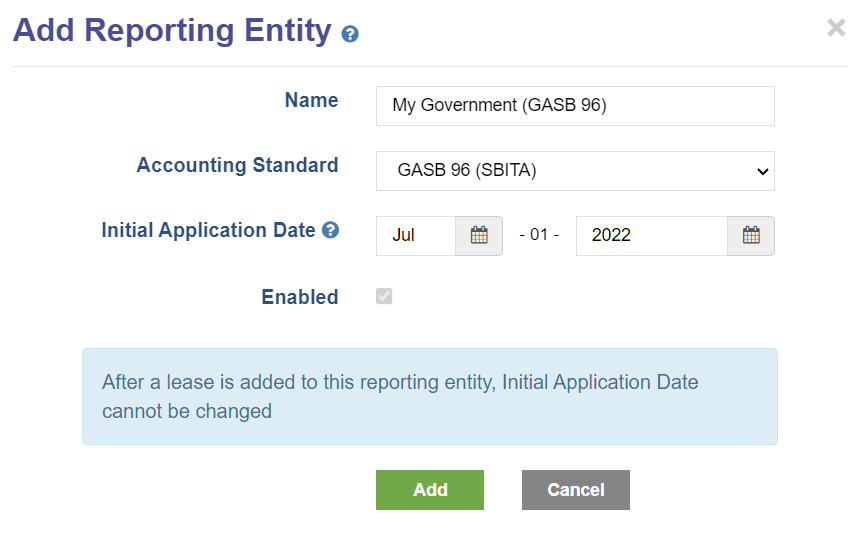
Add a new Reporting Entity. Select GASB 96 as the Accounting Standard and select the correct Initial Application Date which is one year later than GASB 87 Initial Application Date. Not sure about your Initial Application Date? Learn more here.
An Asset type of SBITA - GASB96 is preset in Administration - Customization for ease of entry.
Next, navigate to Administration - GL Accounts. For each GASB 96 Reporting Entity, add the GASB 96 related GL Numbers to match your chart of accounts. This will allow SBITA-related journal entries to map directly into your accounting system.
Some examples of GL Accounts needed for GASB 96:
- Subscription Asset
- LT Subscription Liability
- ST Subscription Liability
GASB 96 Add SBITAs to LeaseCrunch Software
To add SBITAs to LeaseCrunch, click Add Leases.
Step 1: Description & Term
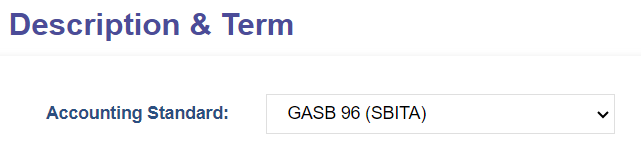
Select Accounting Standard: GASB 96 (SBITA)
Once the Accounting Standard is selected, select the appropriate Reporting Entity.
Proceed by entering the required fields noting the Asset Type of SBITA - GASB 96
The Start Date for subscriptions that existed prior to GASB 96 should match the Initial Application Date.
Example: The SBITA was signed 9/1/21 for a 3 year term and the entity is applying the GASB 96 guidance to their financial statements as of 7/1/22, the start date of the SBITA in LeaseCrunch software is 7/1/22.
Click Next to save and continue to the next step.
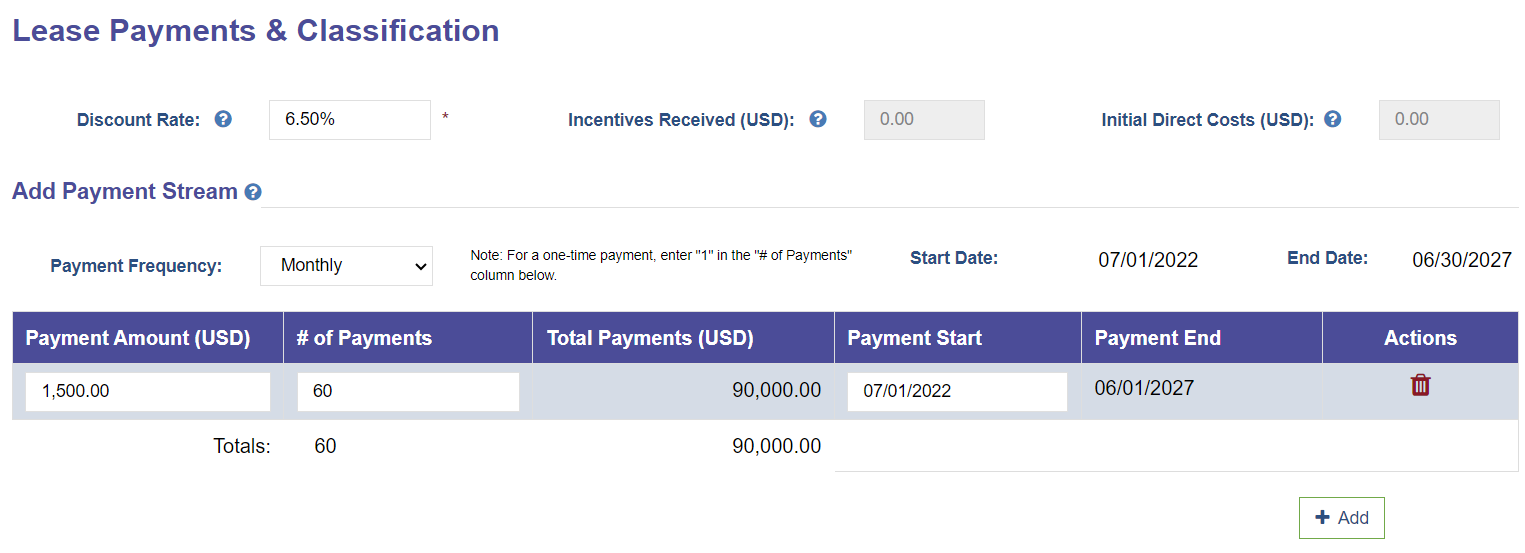
Step 2: Lease Payments
Enter the Discount Rate and Payments.
Click Next to save and continue to the next step.
Step 3: GL Accounts
The GL Accounts specific to the Reporting Entity will be preselected when there is only one account for each account type. To allocate expenses to Cost Centers, add them here.
Step 4: Variable Expense & Non-Lease Payments (optional)
Add any variable expenses you'd like to track in the software.
Step 5: Attach Documents (optional)
This is where you can add the files associated with each agreement.